플러터 ListView 에 표시할 데이터를 가져올 사이트는 https://jsonplaceholder.typicode.com/posts 이다.
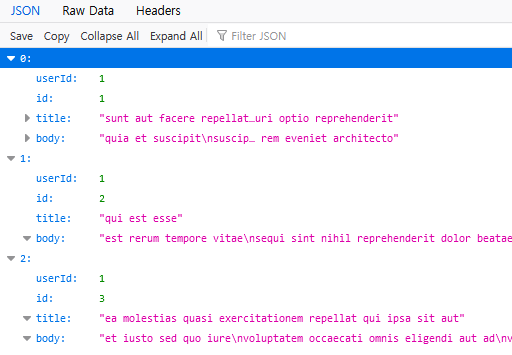
http 통신을 위한 설정
http 패키지를 사용하면 인터넷으로부터 데이터를 손쉽게 가져올 수 있다.
http패키지를 설치하기 위해서, pubspec.yaml의 의존성(dependencies) 부분에 추가해줘야 한다.
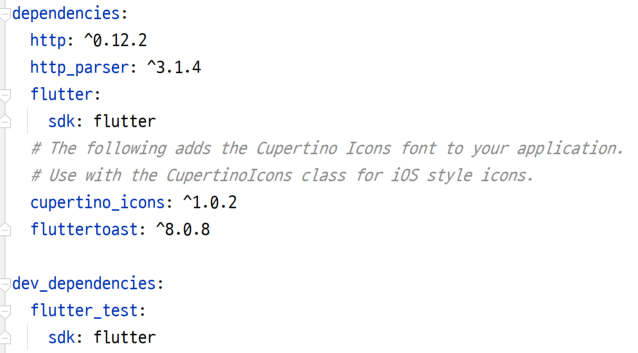
dependencies 에 http, http_parser 를 위와 같이 추가하고
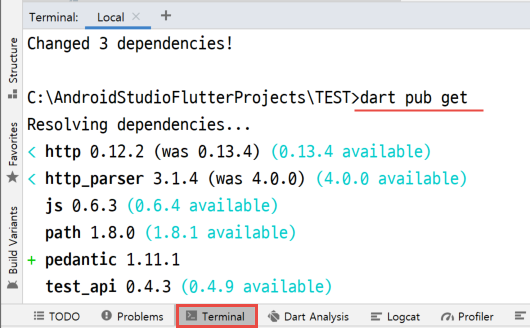
최신버전에 대한 정보는 https://pub.dev/packages/http/versions 에서 확인한다.
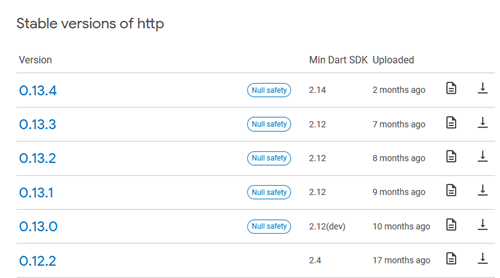
최신버전으로 하지 않아서 에러가 발생해서 환경 설정 부분을 수정했다.
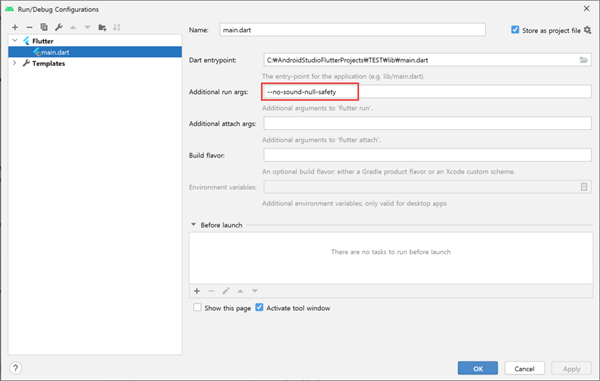
https://www.youtube.com/watch?v=EwHMSxSWIvQ 동영상 자료를 참고해서 데이터 가져오기를 그대로 해보려고 했는데 url 사이트가 연결이 되지 않아서 URL 이 실제 동작하는 것으로 변경했다.
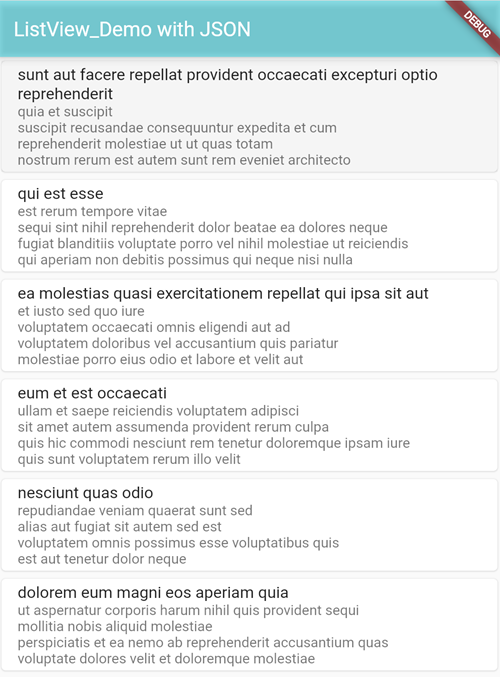
http.get() 메소드는 Response를 포함하고 있는 Future를 반환한다.
Future는 비동기 연산에 사용되는 Dart의 핵심 클래스이다.
예제 코드
|
import 'dart:async';
import 'dart:convert';
import 'package:flutter/material.dart';
import 'package:http/http.dart' as http;
class ListView_remoteJSON extends StatefulWidget {
const ListView_remoteJSON({Key? key}) : super(key: key);
@override
_ListView_remoteJSONState createState() => _ListView_remoteJSONState();
}
class _ListView_remoteJSONState extends State<ListView_remoteJSON> {
Future<List<PostData>> _getPost() async {
// http 0.12.2 로 하면 에러가 발생하지 않고 http 0.13.4 로 하면 에러 발생
final response =
await http.get("https://jsonplaceholder.typicode.com/posts");
if (response.statusCode == 200) {
var jsonData = json.decode(response.body);
List<PostData> postDatas = [];
for (var item in jsonData) {
PostData postData =
PostData(item['userId'], item['id'], item['title'], item['body']);
postDatas.add(postData);
}
//print("데이터 개수 : ${postDatas.length}");
return postDatas;
} else {
throw Exception('Failed to load postData');
}
}
@override
Widget build(BuildContext context) {
return Scaffold(
appBar: AppBar(title: Text('ListView_Demo with JSON')),
body: Container(
child: FutureBuilder(
future: _getPost(),
builder: (context, AsyncSnapshot snapshot) {
if (snapshot.hasData) {
return ListView.builder(
itemCount: snapshot.data.length,
itemBuilder: (context, index) {
return Card(
child: ListTile(
title: Text(snapshot.data[index].title),
subtitle: Text(snapshot.data[index].body),
onTap: () {
Navigator.push(
context,
MaterialPageRoute(
builder: (context) =>
DetailPage(snapshot.data[index])));
},
),
);
});
} else {
return Container(
child: Center(
child: Text("Loading..."),
),
);
}
},
),
),
);
}
}
class DetailPage extends StatelessWidget {
final PostData postData;
DetailPage(this.postData); // 생성자를 통해서 입력변수 받기
@override
Widget build(BuildContext context) {
return Scaffold(
appBar: AppBar(
title: Text('Detail Page'),
),
body: Container(
child: Center(
child: Text(postData.title),
),
),
);
}
}
class PostData {
final int userId;
final int id;
final String title;
final String body;
PostData(this.userId, this.id, this.title, this.body);
}
|
728x90
'Flutter 앱 > Flutter Basic' 카테고리의 다른 글
| Flutter Widget 개념(stateless, stateful) (0) | 2022.06.18 |
|---|---|
| Flutter input dialog (자식 → 부모) (0) | 2022.06.15 |
| Flutter showDialog and AlertDialog Widget (부모 → 자식) (0) | 2022.06.14 |
| Flutter Toast 메시지 (0) | 2021.12.24 |
| Flutter 화면 이동 (Navigator) (0) | 2021.12.23 |

