
728x90
한시간만에 끝내는 Node.js 강의를 듣고 간략하게 내용을 적어둔다.
https://www.youtube.com/watch?v=toLDNN4FQv0
Node.js 설치에 대한 사항은 생략한다.
테스트 환경은 Windows10 이다.
먼저 MySQL DB 접속을 위한 샘플 데이타가 필요하여 샘플 데이터를 구해서 DB에 넣었다.
https://link2me.tistory.com/2100
MySQL 샘플 DB 설치
MySQL 샘플 DB가 필요해서 설치하는 과정을 적어둔다. https://github.com/datacharmer/test_db 에 접속해서 파일을 다운로드한다. test_db-master.zip 라는 파일이 다운로드 된다. 이제 PC에 설치된 MariaDB 에..
link2me.tistory.com
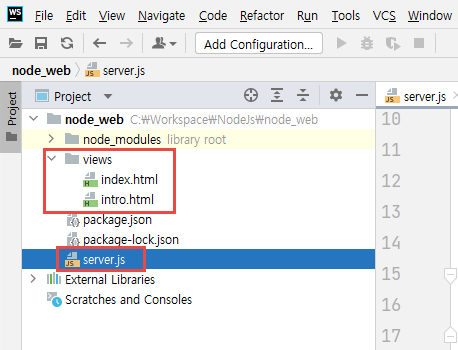
개발툴은 WebStorm 을 사용했다. VSCode 등 툴은 편한 걸 이용하면 된다.

https://www.npmjs.com/package/mysql 에서 MySQL 설정에 관한 사항을 복사하여 붙여넣기한다.
소스코드
|
// server.js 파일 (Terminal 창에서 아래 세줄 실행한다)
// npm install express --save
// npm install ejs --save
// npm install formidable mysql --save
const express = require('express');
const app = express();
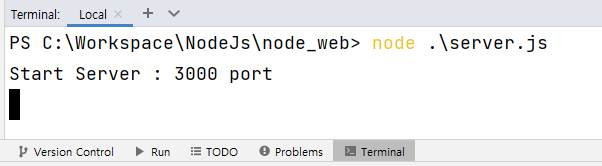
const server = app.listen(3000,() => {
console.log('Start Server : 3000 port');
});
app.set('views', __dirname + '/views');
app.set('view engine', 'ejs');
app.engine('html', require('ejs').renderFile);
app.get('/', function (req, res) {
res.render('index.html');
});
app.get('/about', function (req, res) {
res.send('About Page');
});
// 구글에서 npm mysql 로 검색하면 찾아지는 게시글에서 복사하여 붙여넣기 한 후, DB설정을 하면 된다.
var mysql = require('mysql');
var pool = mysql.createPool({
connectionLimit : 10,
host : 'localhost',
user : 'root',
password : 'autoset',
database : 'employees'
});
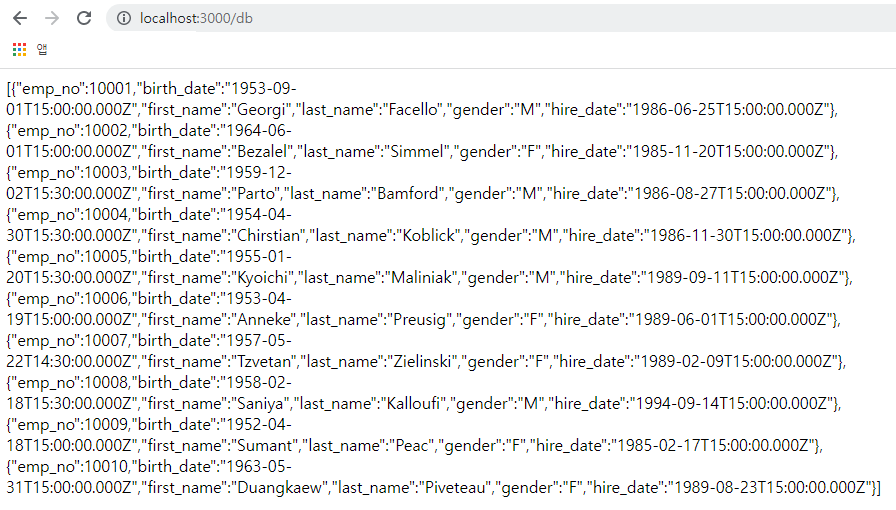
app.get('/db', function (req, res) {
pool.getConnection(function(err, connection) {
if (err) throw err; // not connected!
// Use the connection
connection.query('SELECT * FROM employees LIMIT 10', function (error, results, fields) {
res.send(JSON.stringify(results));
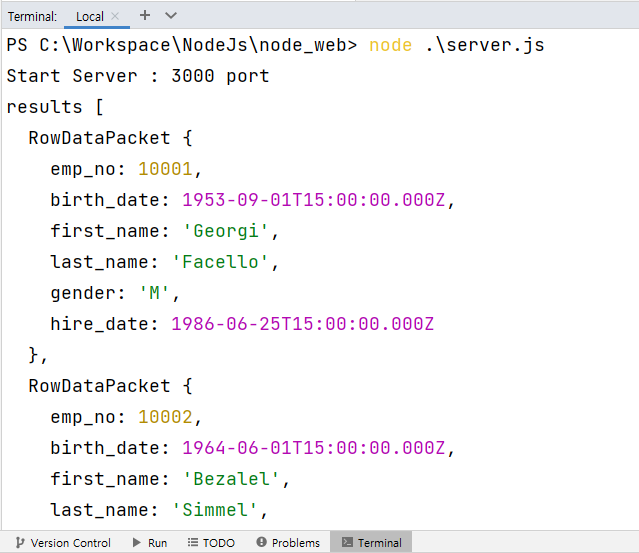
console.log('results',results);
// When done with the connection, release it.
connection.release();
// Handle error after the release.
if (error) throw error;
// Don't use the connection here, it has been returned to the pool.
});
});
});
|
DB 패스워드는 Autoset10 을 이용하여 Local 에서 DB 테스트를 하기 때문에 설정된 패스워드 그대로 적었다.
index.html 파일 → https://www.w3schools.com/ 사이트의 Bootstrap 예제를 가져온 예시 파일이다.
|
<!DOCTYPE html>
<html lang="en">
<head>
<title>Bootstrap Example</title>
<meta charset="utf-8">
<meta name="viewport" content="width=device-width, initial-scale=1">
<link rel="stylesheet" href="https://cdn.jsdelivr.net/npm/bootstrap@4.6.1/dist/css/bootstrap.min.css">
<script src="https://cdn.jsdelivr.net/npm/bootstrap@4.6.1/dist/js/bootstrap.bundle.min.js"></script>
</head>
<body>
<div class="container">
<h1>Welcome to My Homepage</h1>
<h2>Basic Table</h2>
<p>The .table class adds basic styling (light padding and horizontal dividers) to a table:</p>
<table class="table">
<thead>
<tr>
<th>Firstname</th>
<th>Lastname</th>
<th>Email</th>
</tr>
</thead>
<tbody>
<tr>
<td>John</td>
<td>Doe</td>
<td>john@example.com</td>
</tr>
<tr>
<td>Mary</td>
<td>Moe</td>
<td>mary@example.com</td>
</tr>
<tr>
<td>July</td>
<td>Dooley</td>
<td>july@example.com</td>
</tr>
</tbody>
</table>
</div>
</body>
</html>
|
이제 크롬 브라우저에서 접속해보자.
콘솔에도 데이터가 출력되는 걸 확인할 수 있다.
'node.js' 카테고리의 다른 글
| nodeJS 유틸리티 상속 (0) | 2022.06.09 |
|---|---|
| 프로그래밍 모델 : 동기(Synchronous) vs 비동기(Asynchronous) (0) | 2022.06.09 |
| 맛집(bestfood) 앱을 위한 node.js 설정 (0) | 2021.12.03 |
| CentOS 7 Node.js 환경 설정 (0) | 2020.12.20 |
| nodejs 와 MySQL 연동 (0) | 2020.02.09 |

Link2Me