
React 에서 네이버 지도 API 를 이용하기 위해 간단 테스트하고 적어둔다.
먼저 https://www.ncloud.com/ 사이트에서http://localhost:3000 을 추가했다.

index.html 에 라이브러리 추가
|
// index.html
<!DOCTYPE html>
<html lang="en">
<head>
<meta charset="utf-8" />
<link rel="icon" href="%PUBLIC_URL%/favicon.ico" />
<meta name="viewport" content="width=device-width, initial-scale=1" />
<meta name="theme-color" content="#000000" />
<link rel="apple-touch-icon" href="%PUBLIC_URL%/logo192.png" />
<link rel="manifest" href="%PUBLIC_URL%/manifest.json" />
<title>React App</title>
</head>
<body>
<noscript>You need to enable JavaScript to run this app.</noscript>
<div id="root"></div>
<script type="text/javascript" src="https://openapi.map.naver.com/openapi/v3/maps.js?ncpClientId=키추가하세요"></script>
</body>
</html>
|
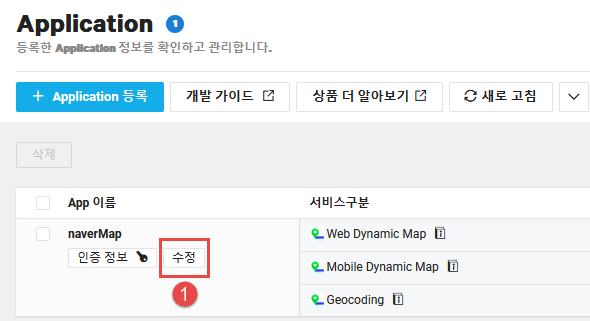
인증정보에서 Client ID 값을 복사하여 붙여넣기 한다.

네이버맵 Sample 구현
- https://navermaps.github.io/maps.js/docs/tutorial-2-Getting-Started.html 에 지도 DOM 요소 지정하기 <div id="map" style="width:100%;height:400px;"></div> 를 포함하도록 되어 있다. return 문 안에 div 태크를 추가한다.
- 지도 띄우는 코드는 useEffect Hook을 이용하여 샘플코드를 아래와 같이 추가한다.
샘플에 나오는 var 변수를 사용해도 되고, const, let 등으로 변경하여 변수를 사용해도 된다.
- 최상위에 const { naver } = window; 를 반드시 추가 해준다.

|
// App.js
import './App.css';
import NaverMapEx1 from "./NaverMapEx1";
function App() {
return (
<div className="App">
<NaverMapEx1 />
</div>
);
}
export default App;
// NaverMapEx1.js
import React, {useEffect, useState} from 'react';
const { naver } = window;
const NaverMapEx1 = () => {
useEffect(() => {
const container = document.getElementById("map"); // 지도를 표시할 div
// let markerList = [];
// const HOME_PATH = window.HOME_PATH || '.';
const position = new naver.maps.LatLng(37.3849483, 127.1229117);
const mapOptions = {
center: position,
zoom: 17,
minZoom: 6,
zoomControl: true,
zoomControlOptions: {
position: naver.maps.Position.TOP_RIGHT,
},
};
const map = new naver.maps.Map(container, mapOptions);
const markerOptions = {
position: position.destinationPoint(90, 15),
map: map,
icon: {
url:'https://navermaps.github.io/maps.js/docs/img/example/ico_pin.jpg',
//size: new naver.maps.Size(50, 52),
origin: new naver.maps.Point(0, 0),
anchor: new naver.maps.Point(25, 26)
}
};
const marker = new naver.maps.Marker(markerOptions);
console.log("loading navermap");
},[]);
return (
<div>
<div id="map" style={{width:'100%', height:'800px' }}></div>
</div>
);
};
export default NaverMapEx1;
|
JavaScript 버전에 나온 예제대로 icon url 을 적었더니 인식이 안된다.
React 에서 이미지 경로를 어떻게 인식시키는지 알아야만 해결이 될 듯 싶다.
간단하게 지도 띄우는 것은 가능한데 custom marker 구현과 infowindow까지 구현해봐야 편의성을 알 수 있을 듯 싶다.
728x90
'React > React' 카테고리의 다른 글
| React 코드 비교를 통한 의미 이해 (0) | 2025.03.19 |
|---|---|
| React 배포를 위한 nginx 설정 (0) | 2025.03.13 |
| React 카카오맵 API 사용 샘플 (0) | 2022.10.24 |
| React useMemo & useCallback (0) | 2022.10.24 |
| React useRef 사용 예제 (0) | 2022.10.15 |

Link2Me