728x90
https://console.firebase.google.com/
로그인 - Google 계정
하나의 계정으로 모든 Google 서비스를 Google 계정으로 로그인
accounts.google.com
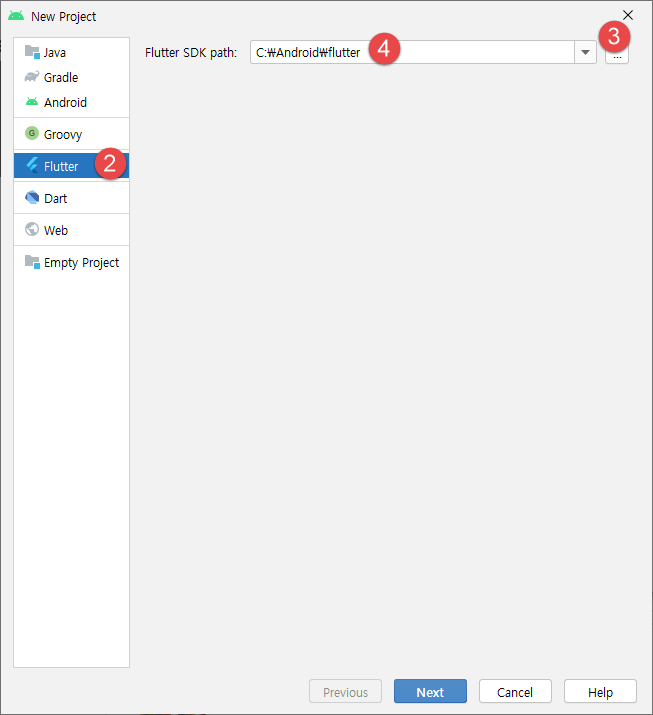
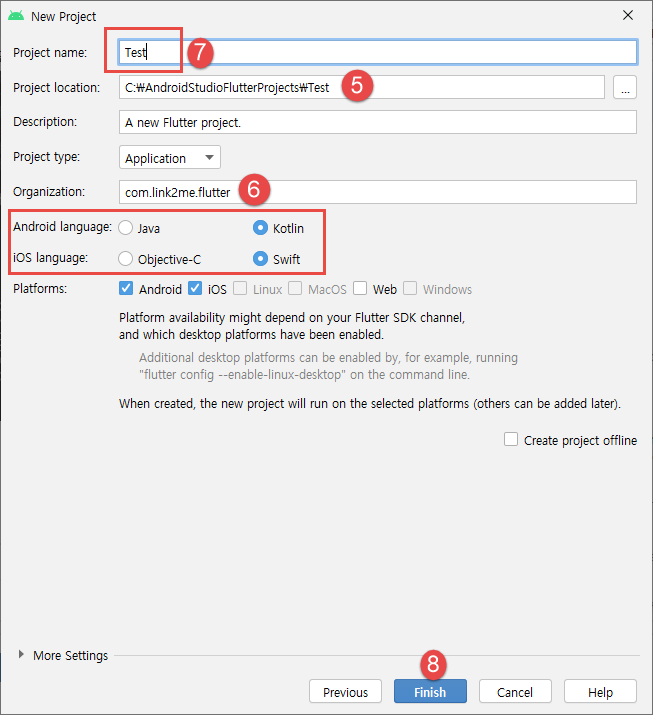
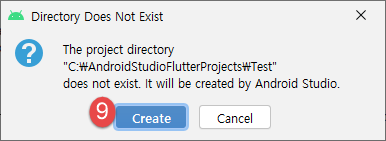
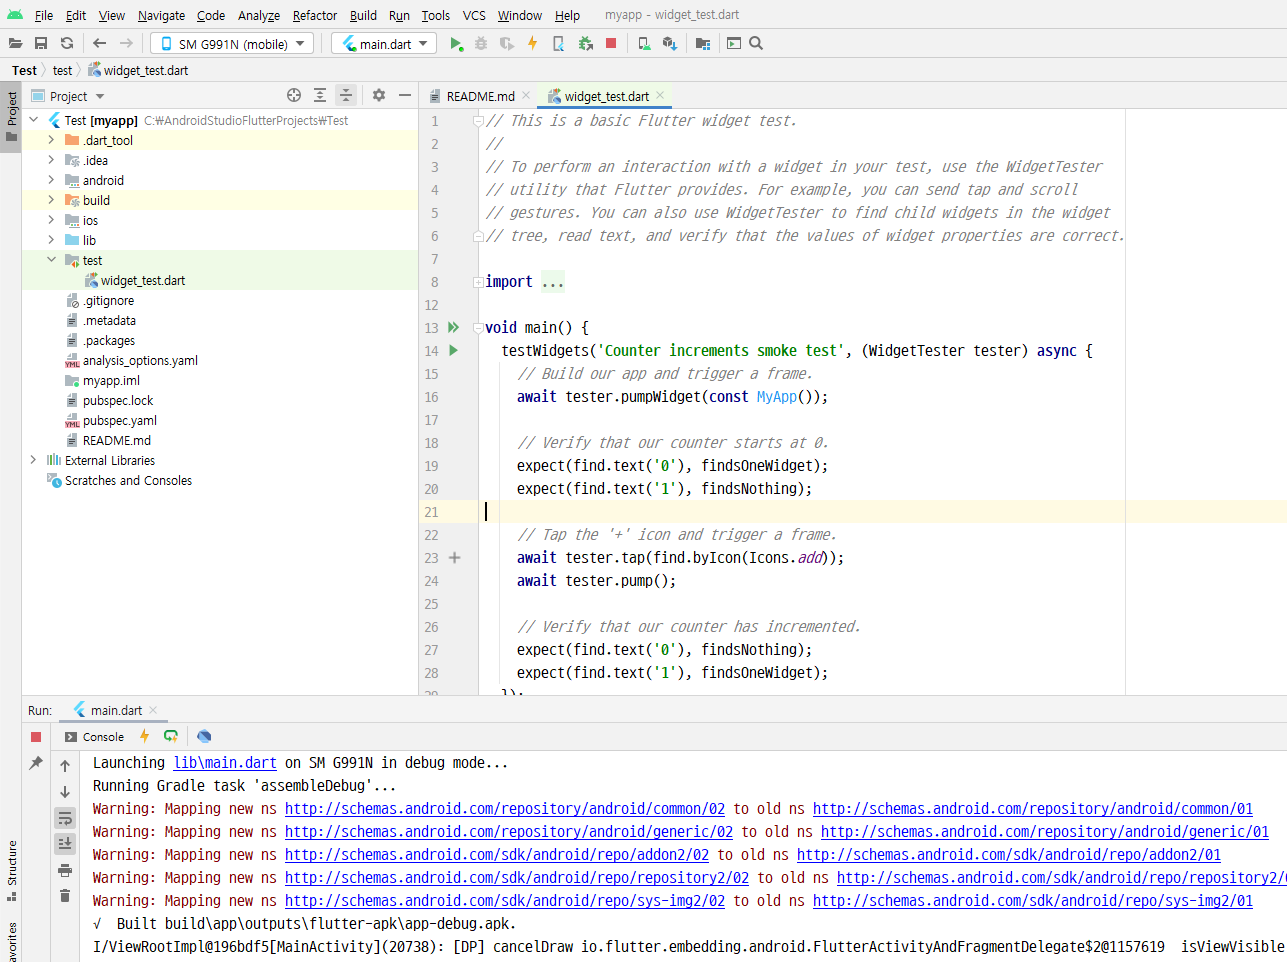
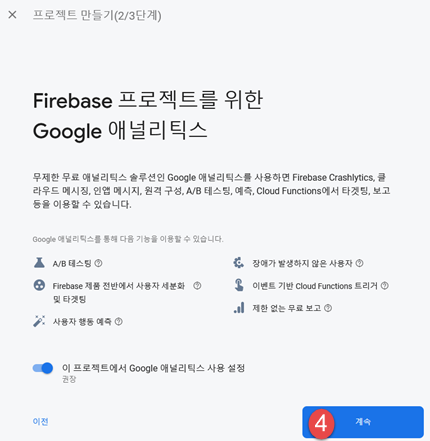
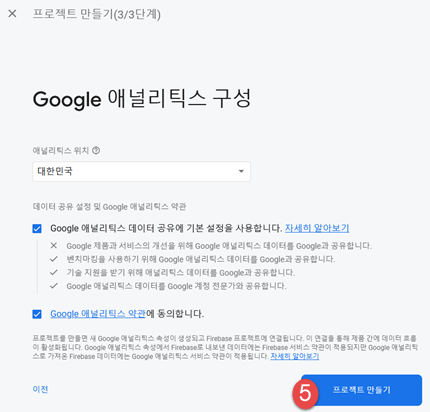
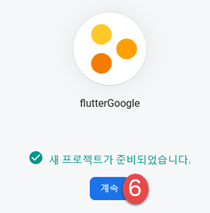
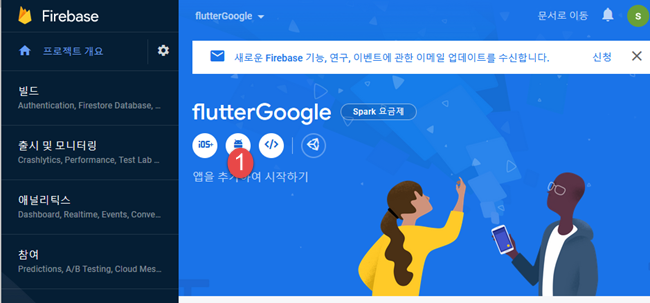
사이트에서 Firebase 프로젝트를 등록하는 방법을 순서대로 적었다.


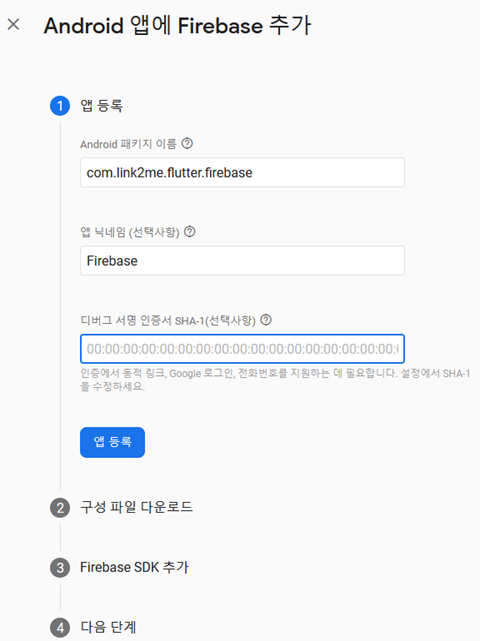
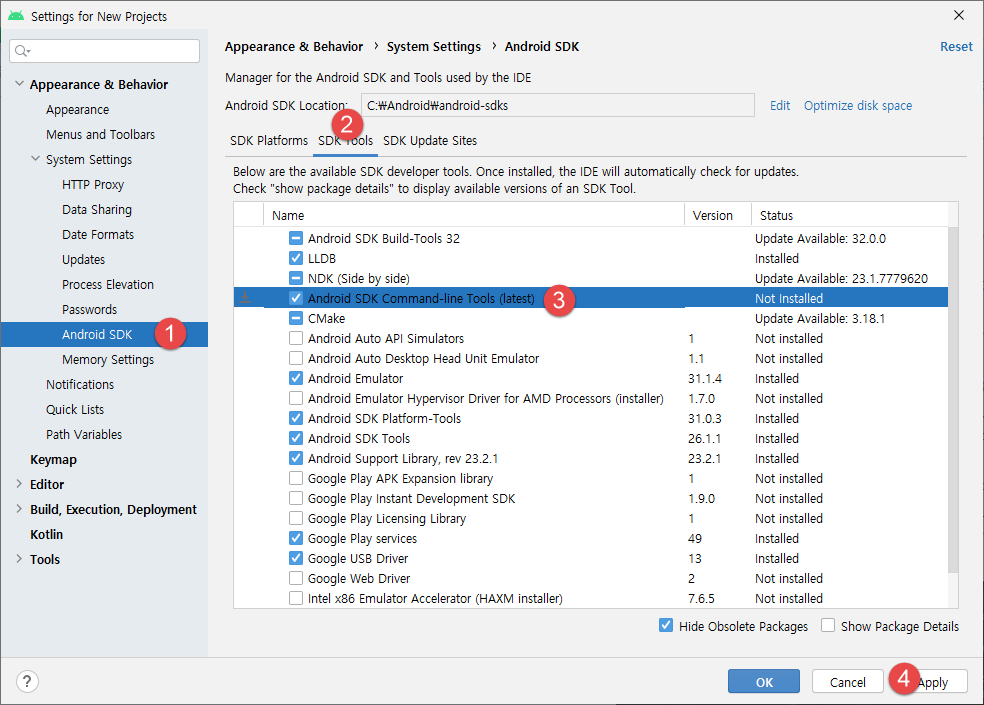
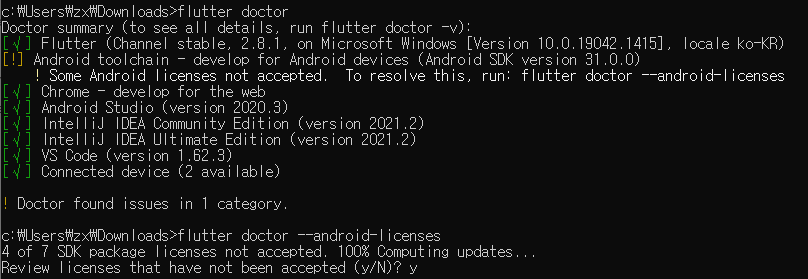
SHA-1 키를 알아내는 과정이다.
https://developers.google.com/android/guides/client-auth 에서 설명된 방법으로 하면 된다.
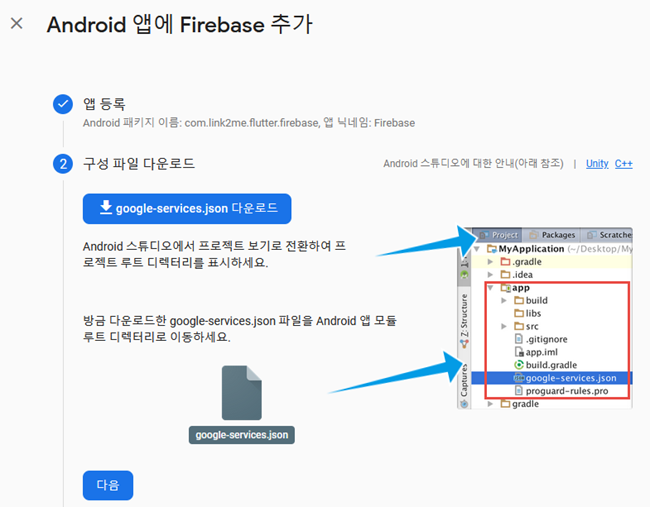
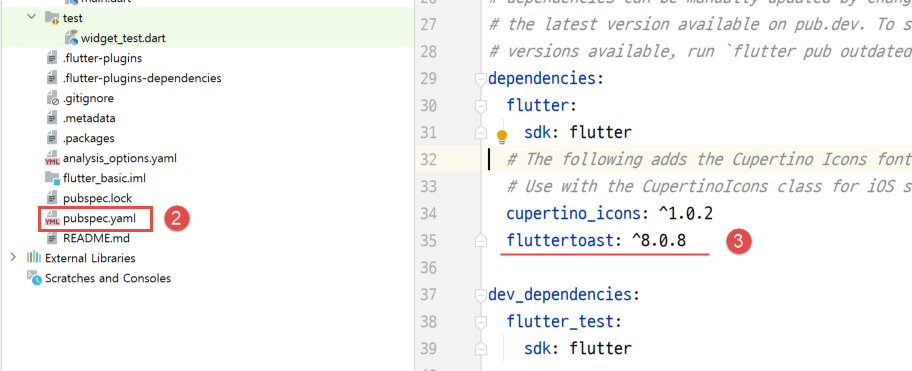
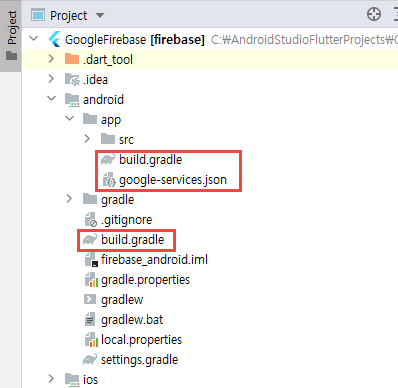
파일을 받아서 2번 다음에 나오는 사항을 따라서 적용한다.
Project build.gradle 수정사항
|
buildscript {
ext.kotlin_version = '1.6.10'
repositories {
google()
mavenCentral()
}
dependencies {
classpath 'com.android.tools.build:gradle:4.1.0'
classpath "org.jetbrains.kotlin:kotlin-gradle-plugin:$kotlin_version"
classpath 'com.google.gms:google-services:4.3.10'
}
}
|
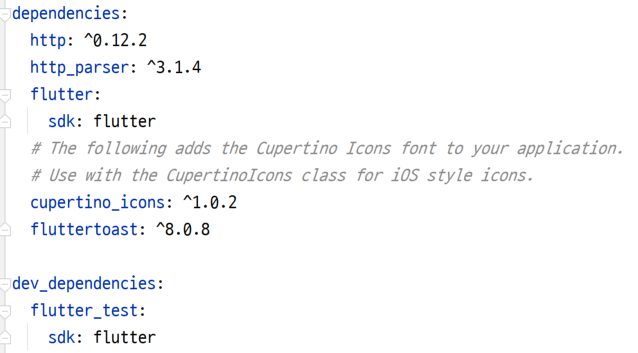
앱 build.gradle 수정사항
|
android {
compileSdkVersion flutter.compileSdkVersion
compileOptions {
sourceCompatibility JavaVersion.VERSION_1_8
targetCompatibility JavaVersion.VERSION_1_8
}
kotlinOptions {
jvmTarget = '1.8'
}
sourceSets {
main.java.srcDirs += 'src/main/kotlin'
}
defaultConfig {
// TODO: Specify your own unique Application ID
applicationId "com.link2me.flutter.firebase"
minSdkVersion flutter.minSdkVersion
targetSdkVersion flutter.targetSdkVersion
multiDexEnabled true
versionCode flutterVersionCode.toInteger()
versionName flutterVersionName
}
buildTypes {
release {
// TODO: Add your own signing config for the release build.
signingConfig signingConfigs.debug
}
}
}
flutter {
source '../..'
}
dependencies {
implementation "org.jetbrains.kotlin:kotlin-stdlib-jdk7:$kotlin_version"
implementation platform('com.google.firebase:firebase-bom:29.0.3')
implementation 'com.google.firebase:firebase-analytics-ktx'
}
apply plugin: 'com.google.gms.google-services'
|
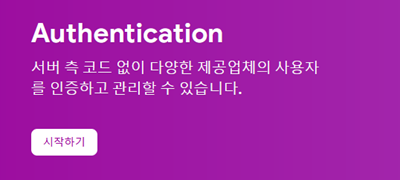
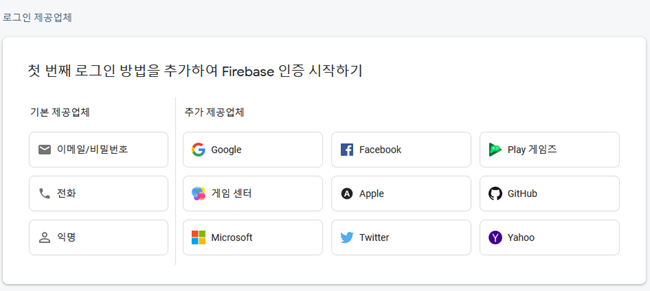
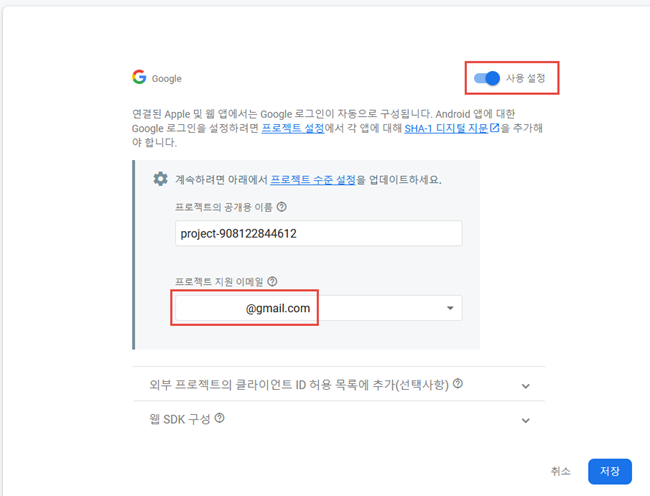
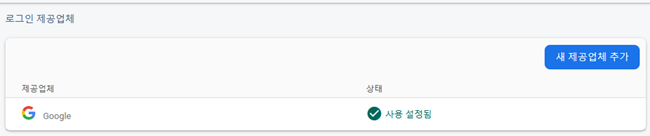
구글 인증 사용 방법

'Flutter 앱 > 환경설정' 카테고리의 다른 글
| Flutter Upgrade (0) | 2022.06.17 |
|---|---|
| dart-sdk 설치 (0) | 2022.01.11 |
| Target of URI doesn't exist 'package:flutter/material.dart' (0) | 2022.01.11 |
| Flutter 시운전 (0) | 2021.12.22 |
| Flutter 설치 (0) | 2021.12.20 |

Link2Me